Traveling Anarchist's Tool Chest - Part I

Here’s my progress so far on my Traveling Anarchist’s Tool Chest. I got a very good deal on some wide Sapele so I decided to go with that. It’s starting to become one of my favorite woods. It stays dead flat, saws beautifully, and responds to the chisel very well. The interlocked grain, while a bit difficult to plane, I think will prove to be worth the effort in the long run. The large widths you can find it in are nice too!

For the most part I lifted the dimensions from Chris Schwarz’s tool chest. I adjusted the height slightly by adding two inches. The case is 38” long, 16” tall, and 18” deep. He posted this drawing and I think the dimensions, proportions, and functionality are great.

Here I've squared up the boards and taken them through the dovetail process. 

Here is how I set the depth of cut on my tongue & groove plane. Place two strips of paper on the edge of the board. Rest the sole of the plane on the paper leaving a gap where the blade projects. Rest the blade on the bare wood. Tighten the lever cap. This leaves a 0.003” depth of cut – a good compromise between getting the work done and taking a fine shaving that will leave a nice shoulder line. Here’s a video of the plane in action. After planing the edges of the board overhang the chest carcass by about 1/8" - they are planed flush after install.

After that three wear strips are installed. They keep the bottom of the chest from being damaged. Much easier to replace one of these strips than a bottom board. I planed a nice chamfer on the edges in case the chest gets dragged over anything – that should help negate some of the damage. 

A 50° frog and a high carbon blade have left a beautiful surface on this Sapele. Ron Brese told me that high carbon blades always perform better on ribbon striped stuff. He said A2 tool steel doesn’t like the changes in density present in the grain of boards like this. That’s why most people have trouble planing this kind of wood. Planing the bottom boards flush took a bit longer than I anticipated. In the second photo I set up a few “spring clamps”. These little bits of wood apply outward pressure so the plane can take a nice shaving. In the last photo I have the chest ready for moldings to be applied.

Until next time!
Cherry Jewelry Box

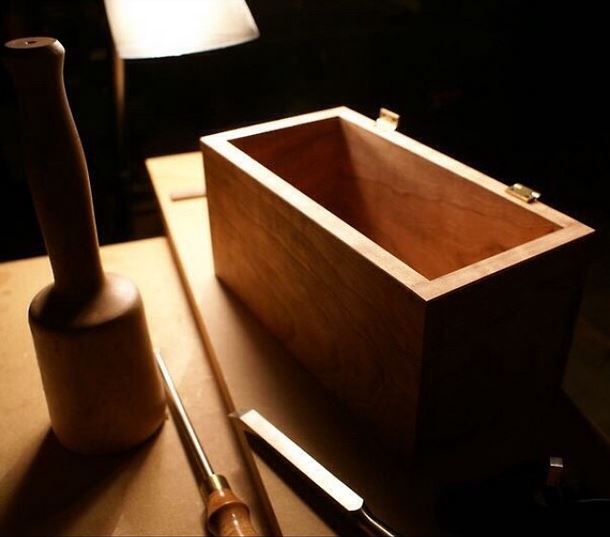
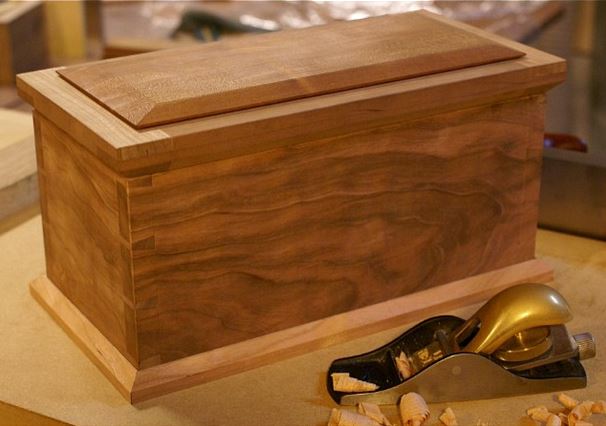
Here is a cherry jewelry box I finished in January. The wood is nice air dried stuff from my Amish friends in Ohio. The joinery consists of dovetails for the carcass, dovetails & shiplaps for the tray, and bridle joints & grooves for the lid. The moldings are simple miters with a nice chamfer. The adhesive for this (and all of my other projects) is hide glue. I like Old Brown Glue from William Patrick Edwards in San Diego. The finish is three coats of Tried & True oil varnish. Each coat is applied then left to dry for a week under a fan. After the first coat is dried it is burnished with 0000 steel wool. Then each additional coat is burnished with a fine linen cloth after drying. I like to heat the oil to 140° before applying nice thin coats with a linen cloth.

This was a really fun build – the tiny dovetails for the sliding tray (I like to call them Quailtails) are my favorite part. I am really happy with the fit of the hinges. They’re tiny 1/4” 90° stop hinges from Brusso. Here’s a little video of the action of the sliding tray.

After I saw out the waste between the pins I like to check the fit of the dovetails (before chopping out the baselines). I made the half pins on the bottom much larger so when the molding is applied there is an equal reveal between half pins.

Next was to install the hinges. These are some nice 1/4" 90° stop Brusso brass hinges. I didn’t take any photos of the lid build since it’s pretty straight forward (and I forgot to). The frame consists of bridle joints and a groove that houses the panel, which has a groove cut into the sides to slip into the frame. The panel is loose (but snug) to account for seasonal movement.

Rough check of the miters. Just a simple chamfered molding.

After taking all of that time to make the moldings perfect they crept during glue up. Luckily I used hide glue! I sprayed water along the seems, covered the molding with aluminum foil, and applied an iron to steam the molding and release the glue’s hold. I then reapplied glue and re-clamped. All in all a few minutes of work. In this photo you can see how bad the miter crept up.
Sawing out the tiny dovetails for the sliding tray & fitting the tray to the box. I like to check the fit after every plane pass on stuff this small.

I made a walnut spacer block to keep the height of the rails that the box rides on parallel and consistent. Used some little walnut strips as spring clamps. I used hot hide glue on the rails, so I rubbed the joint in place then set the clamps for insurance. After this it was time for finishing. 

Walnut Knock Box

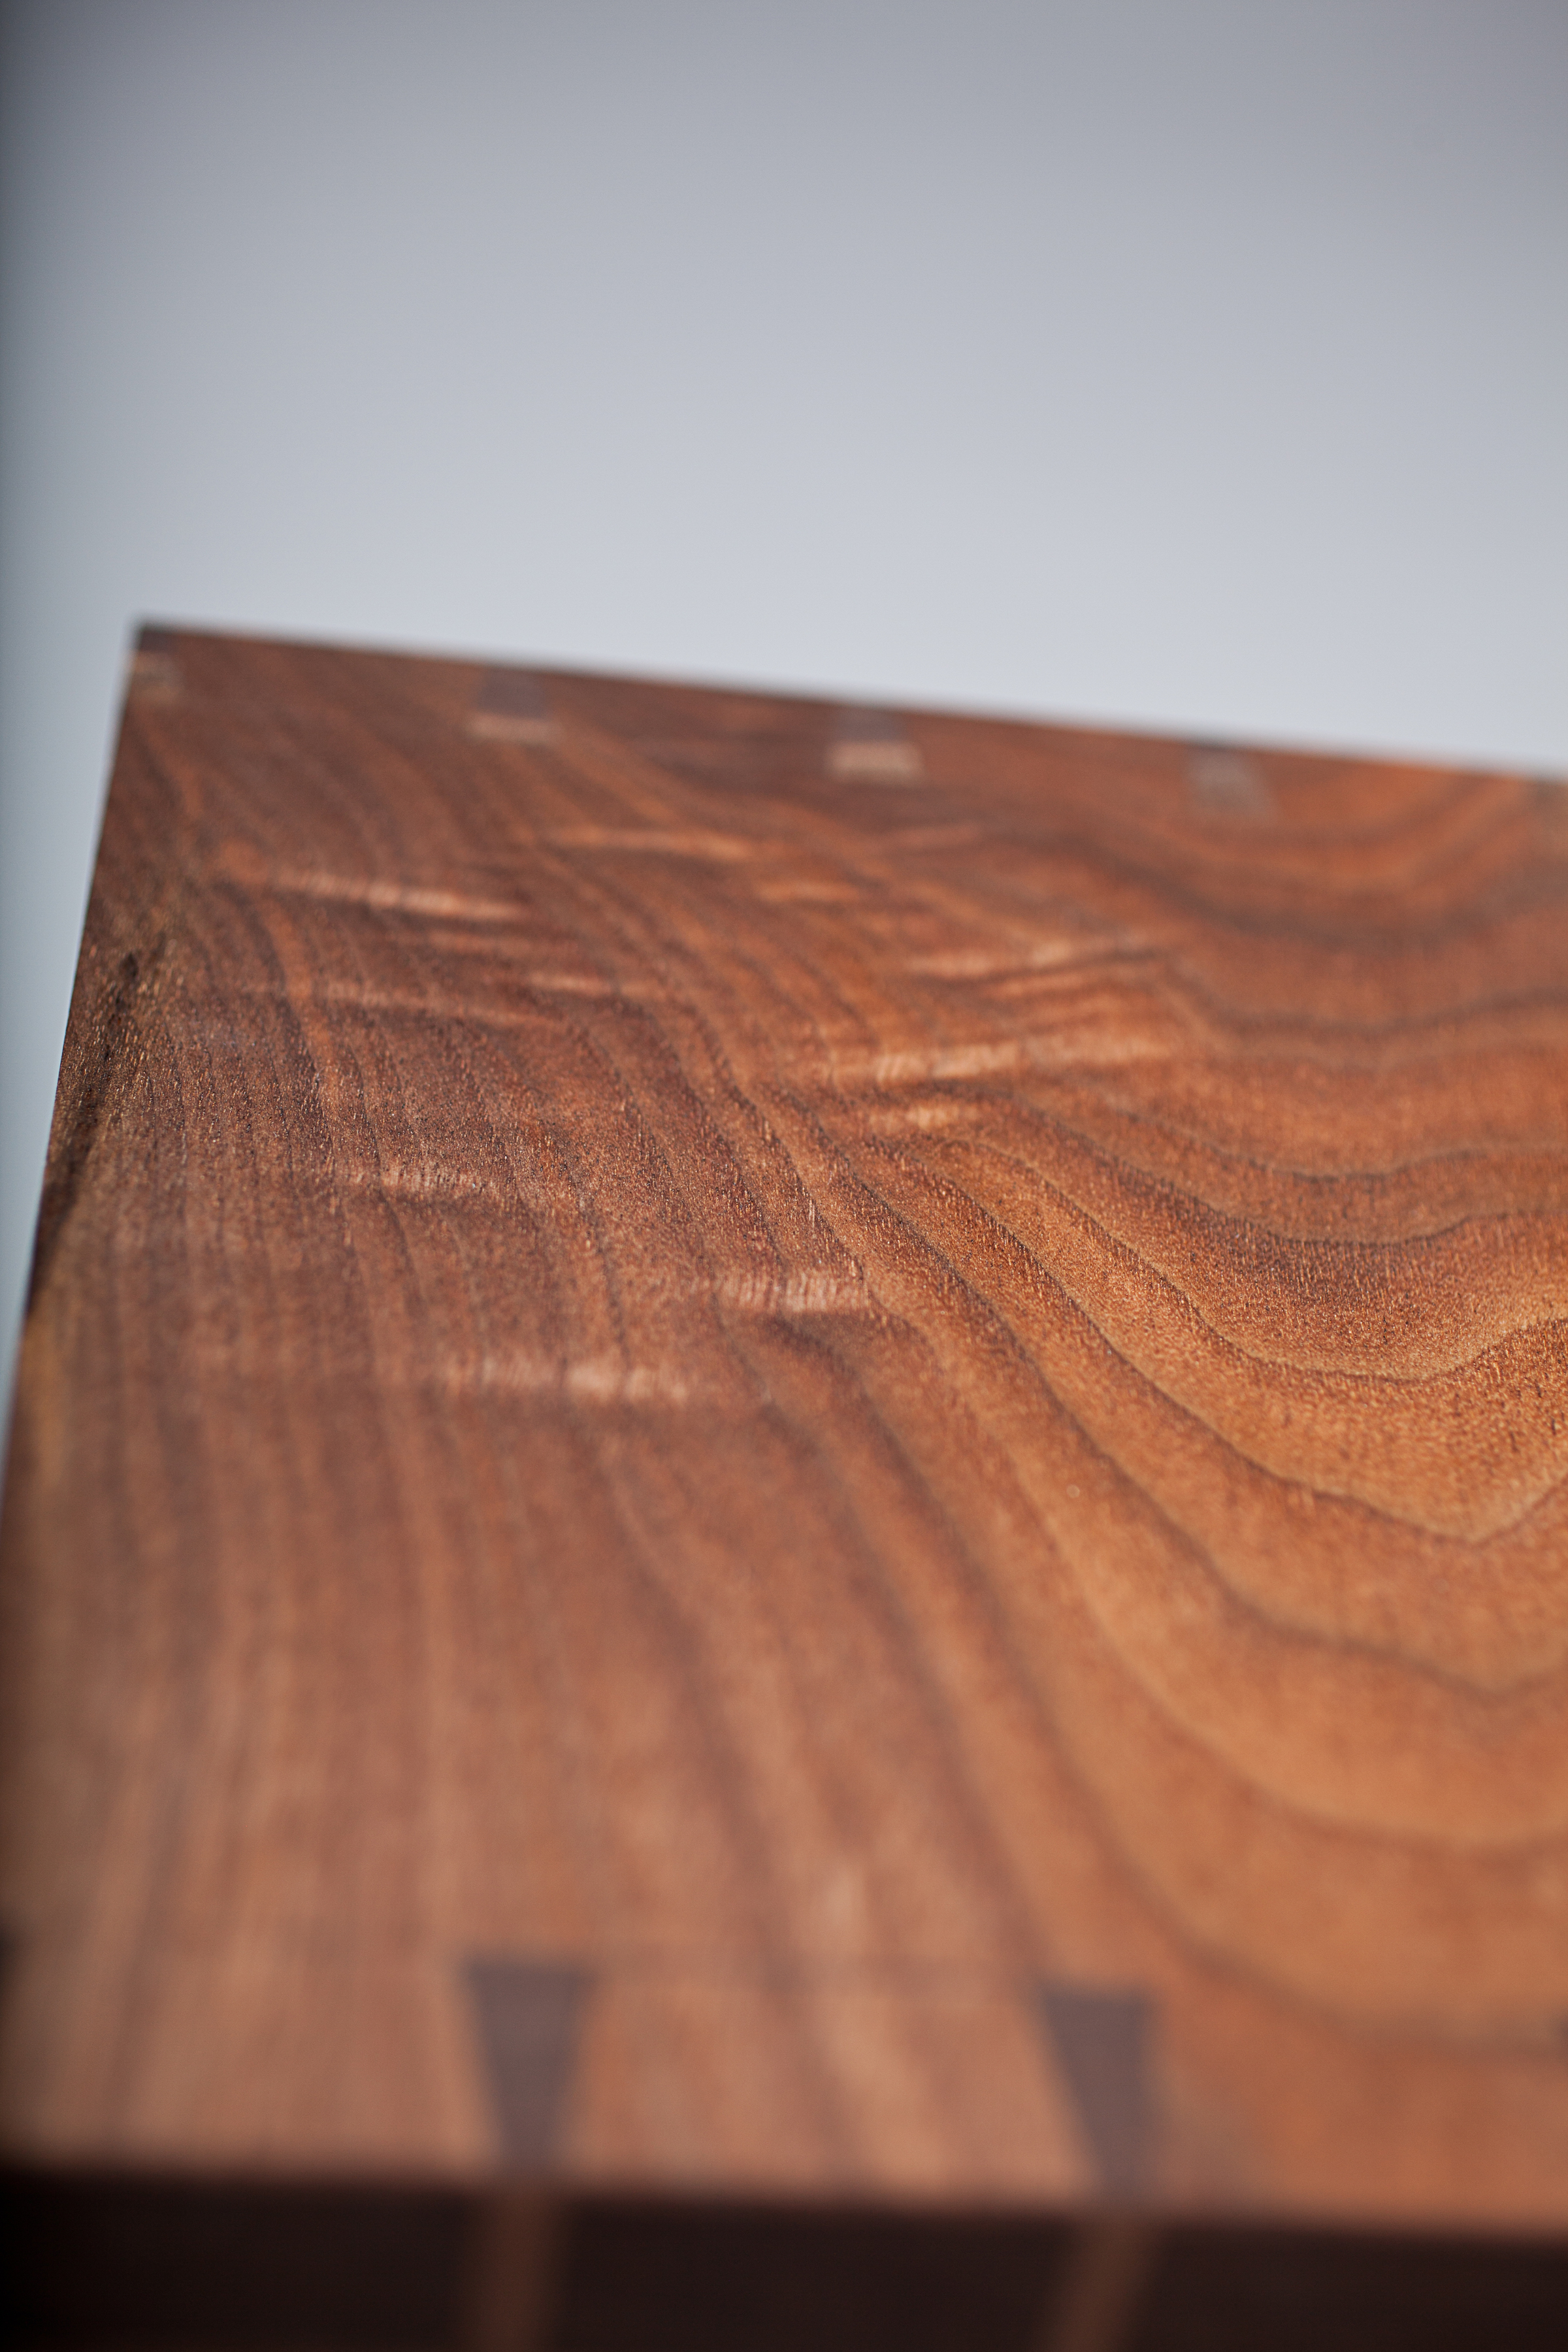
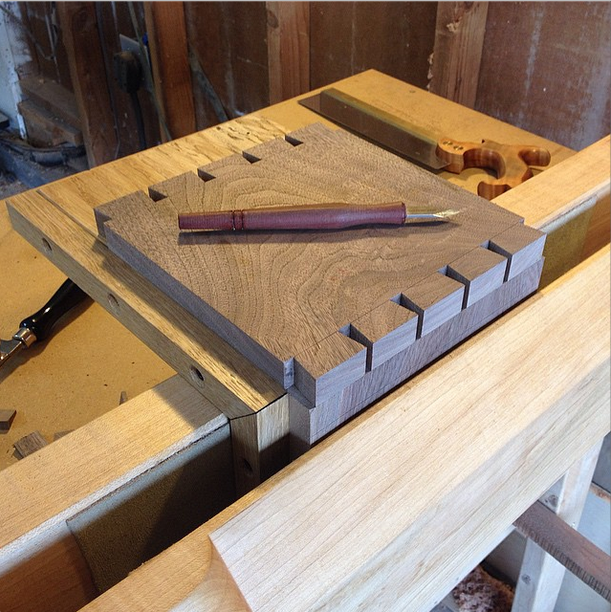
Here's a dovetailed knockbox I completed for a client in Florida. It's made of some nice air dried American Black Walnut from Amish sawyers in Ohio. Finished with a few coats of Osmo. A little metal housing rests inside of it.

I like to cut two rows of dovetails at one. This saves time and makes sure your dovetails are identical. Then I use a shopmade dovetail alignment board to perfectly transfer the tails to the pins. If you don't have one of these I highly recommend it, it makes a big difference in efficiency and quality of transfer.

This is something I try to do as often as I can. It looks nice if your board wraps around the box so the figure and grain all flow around the corners. Here's a photo of the metal insert housed inside the walnut box. 

Mahogany Trestle Table

This table was done entirely by hand except for the cove molding. The base is finished with Osmo oil/wax. The top is finished with candlelight oil stain, sanding sealer, pore filler, three coats of 50/50 polyurethane, three full coats of polyurethane, and finally a French polishing buffing compound.

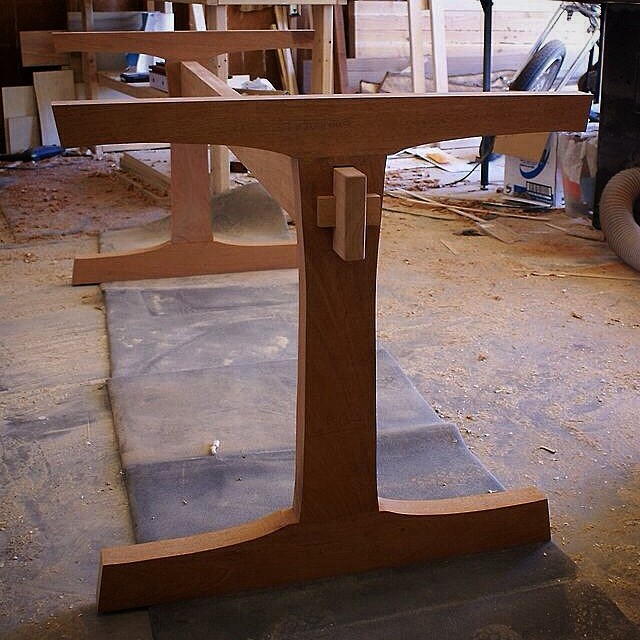
The joinery consists of drawbored mortise & tenons and through wedged mortise & tenons. All hand cut and chopped. All of the curves and heavy chamfers were made with a spokeshave. A 50° smooth plane left the final surface on all flat areas and the spokeshave for the curved.

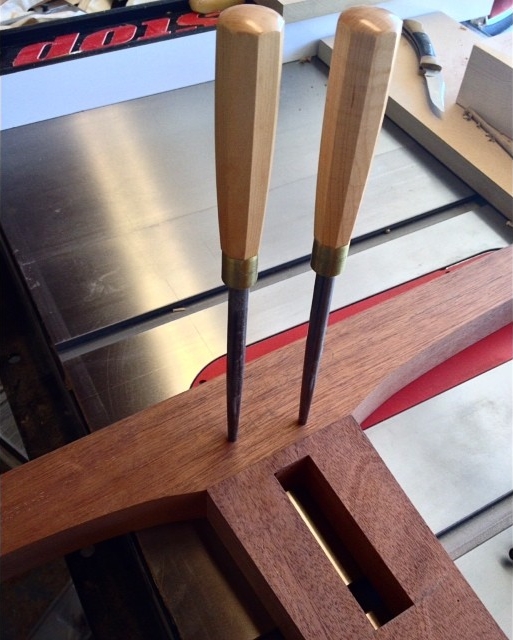
At this point in the build I have cut all of the mortise and tenon joints and am testing the fit of the pieces while they are still square. This makes it easier to work with them. If you shape the pieces before joinery it can lead to unexpected problems. 

Here I have used a framesaw to cut out the rough shape of the pieces. I also made a jig, a piece of maple with a 5° angle to chop the through mortise in the stretcher's tenon for the wedge. It's important that this be accurate so the wedge will pull the joint together very tight. If you look at the last picture you can see the joint has seated very nicely. 

Checking the offset of the drawbore holes. I made some riven white oak pins for their strength. Went together very nicely. I used Old Brown Glue on the pins to act as a lubricant.

I glued up the top with Old Brown Glue then made the cove molding. Finishing took about a week to complete properly.